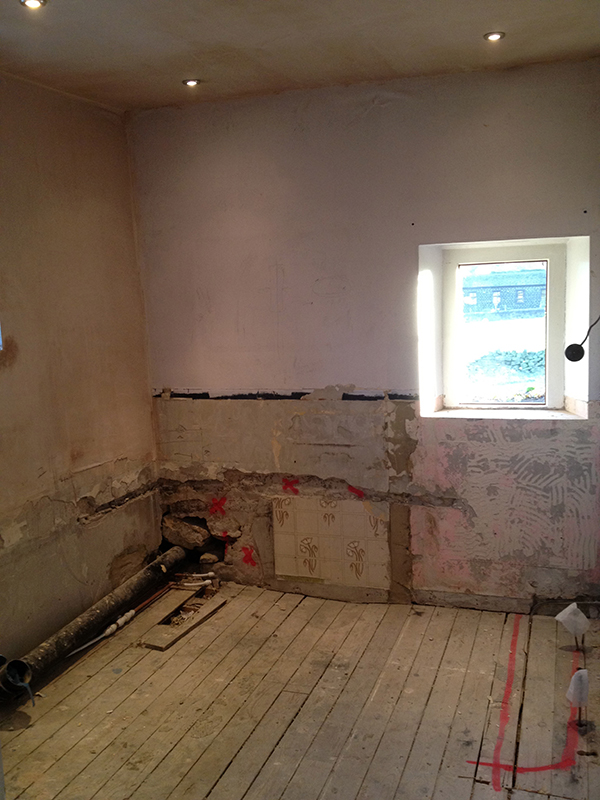
This article follows on from Tiling on wooden floors (Part 1 – prep) & explains the process of tiling over wooden floors, focusing on the sub floor preparation.
Reinforcing floor supports – joists
In some instances (where movement is detected) it is sensible to strengthen the floor, as tiles will break or dislodge if the floor surface bends (deflects) under the increased load of the tiles.
Measuring floor deflection (i.e. how much the floor sags in the middle when a weight is applied)There are a couple of ways to measure floor deflection, which will determine whether or not you floor needs strengthening prior to floor tiling.One way is to measure the joist span and divide this by a pre-determined figure (360 for ceramic tiles, 720 for stone tiles) to give a total maximum allowed deflection. The actual deflection of the floor under an estimated load is then measured and compared against this figure. Eg 360cm span would have 1cm maximum deflection for ceramic tiles, or 5mm for stone tiles.
Type ‘measuring floor deflection’ into Google if you want to know more.
A more practical (less technical) method is to stand in the middle of the room and jump up and down. If you feel the floor move under your jumping weight, chances are that there is a deflection problem that will need to be remedied prior to tiling. Better still, look at someone else doing this and you will see the movement.
You will now have to either strengthen the sub floor with the techniques I am about to explain or consider an alternative flooring choice. This may involve lifting the floorboards to get at the joists underneath.
Please see my article on bathroom flooring options for alternatives to tiling that would be better suited to a floor that deflects significantly under load.
Replace rotten joists
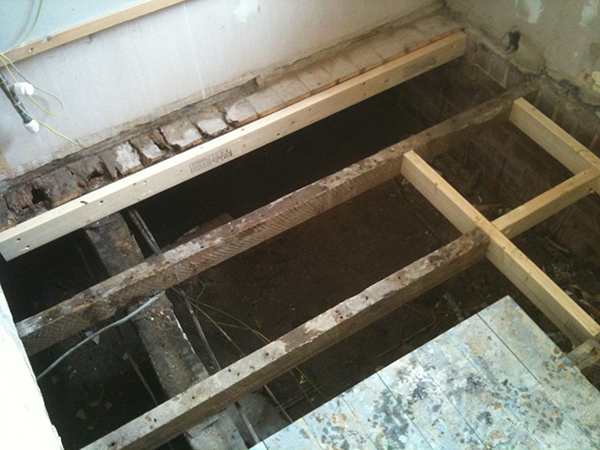
Here, rotten joists have been removed and replaced with new equivalent timber using 6x100mm Turbogold woodscrews on one of my bathroom installations in Leeds.
This will ensure a more solid floor.
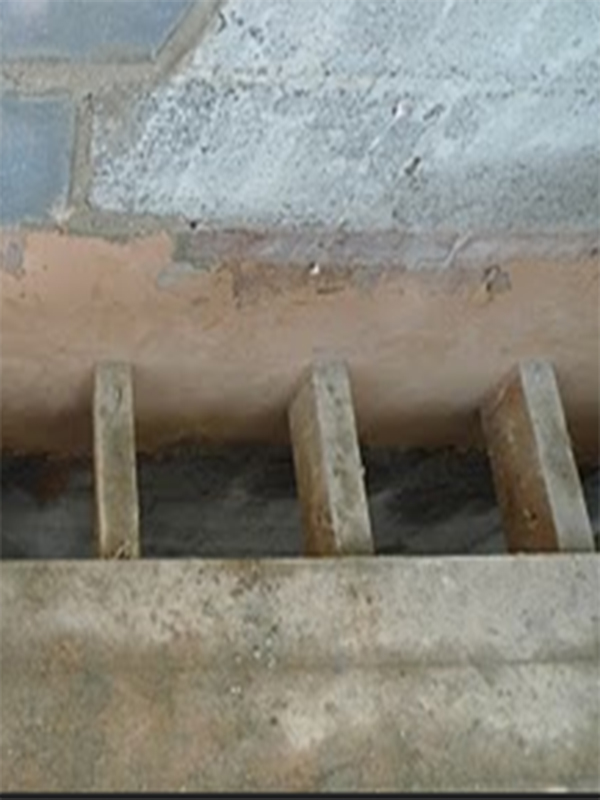
If there is a wall supporting the joists (as in the picture above) check that there is no gap between the underside of the joist and the top of the wall. If there is, you are missing out on a chance to strengthen the sub floor for very little effort.
If these gaps are small, pack them with broken slate, or if bricks are missing build up the brickwork until it touches the underside of the joists.
The goal is to stop the joists sagging under the heavy load of the new tiled floor.
If the joists are not very deep, like those above which are less than 6” deep, then this becomes crucial.
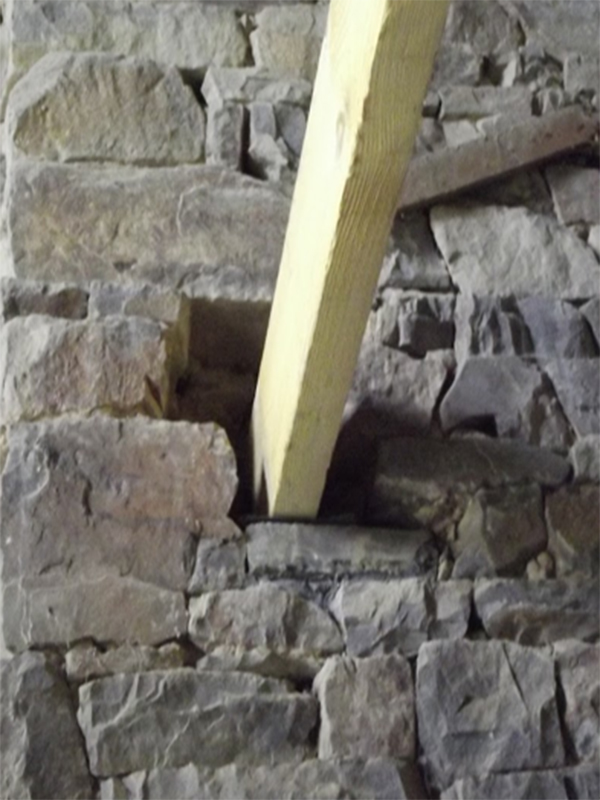
Also ensure that the joists are tightly packed in the wall junctions (they should not be able to be moved in any direction – up or down, left or right, in or out) by hammering in slate and using mortar to fill in the gaps. Slate is used because it is one of the few substances that cannot be compressed.
Add noggins between the joists
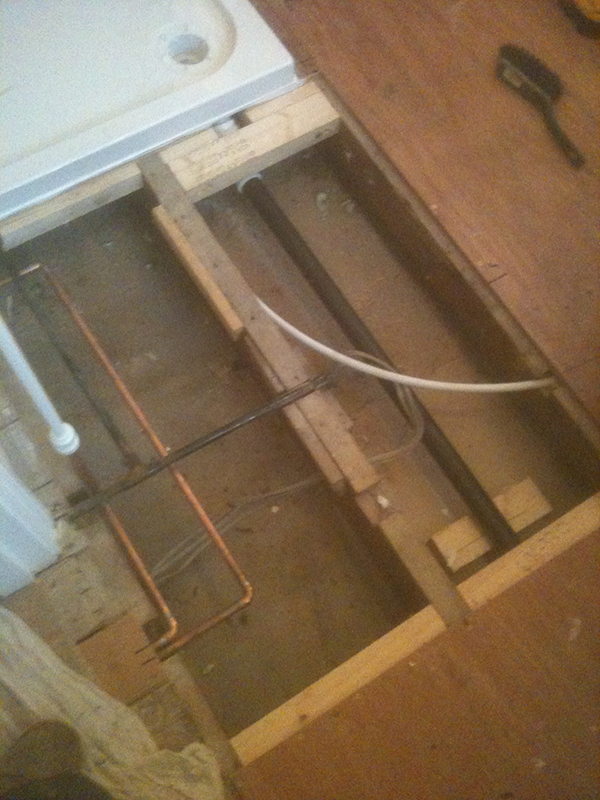
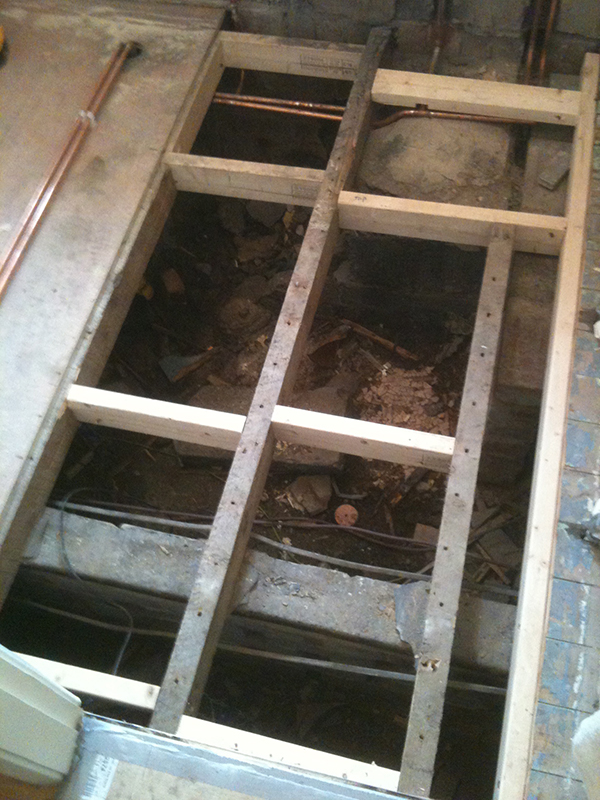
These pictures shows how noggins have been added between the joists to add strength.
They have also been added at strategic points (beneath where 2 sheets of plywood flooring will meet) to ensure that the edges of the plywood will not flex relative to each other.
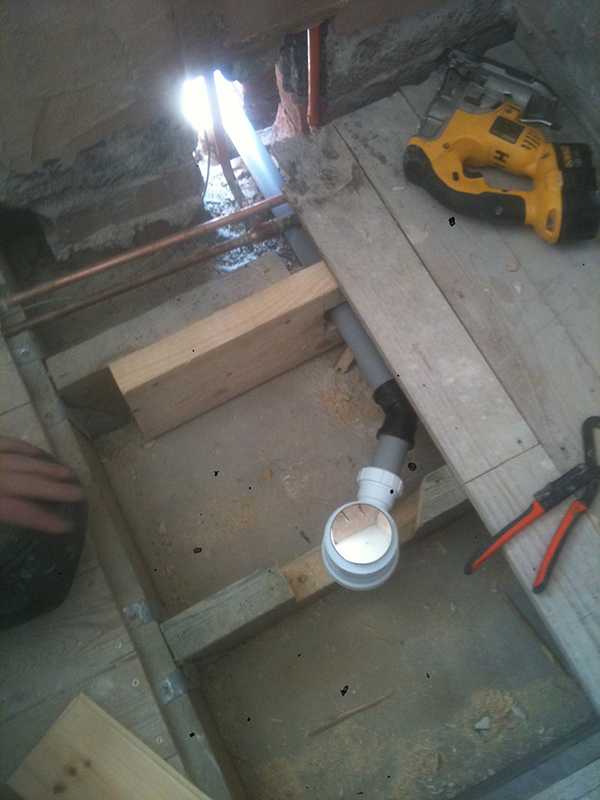
The 1st picture above shows how replacing the entire floor (floorboards > plywood) allowed for the easier running of the shower waste which ran under a large part of the bathroom in this particular installation.
Top tip
Use a cross cut saw to cut noggins rather than a hand saw – this way you can ensure accurate, right angled cuts that can be wedged in-between the joists tightly (as you can shave off tiny amounts which is impossible by hand.)Hammer noggins in place with a wooden mallet and secure with large wood-screws or joist-hangers.
Add extra joists if necessary
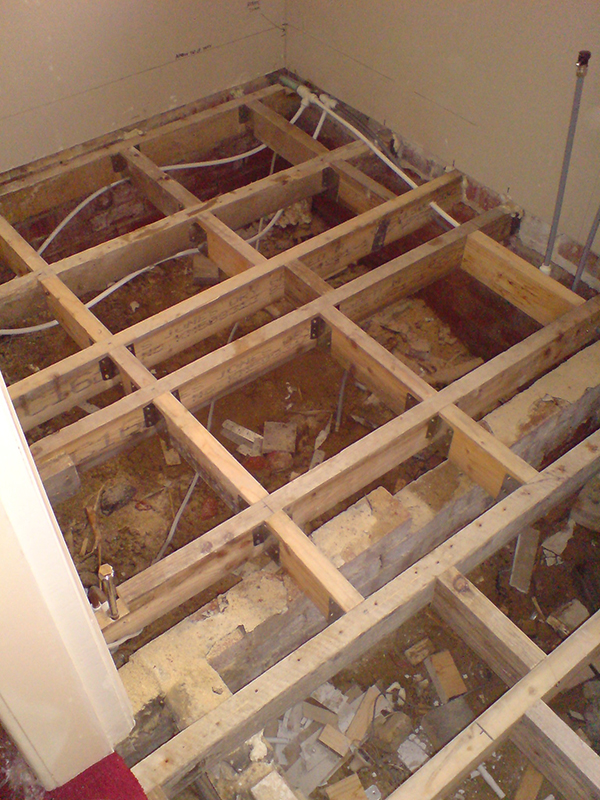
If the majority of the joists are rotten or not deep (strong) enough (6×2” is standard but this varies depending on the span) then it might be easier to start again from scratch.
In this bathroom in Leeds, we essentially started from scratch using new joists and joist hangers. This allowed us to fit a perfectly level, structurally sound floor with no deflection, ensuring that the bathroom installation would last for many years to come.
This may cost more initially but will cost a lot less than replacing the entire installation in a couple of years.
Please see my Top 5 Hidden bathroom installation costs for things like this that can crop up (and throw your budget out of the window) if you haven’t expected them.
PS
Sometimes you may just need to add an extra couple of joists in-between the existing joists if the distance between the joists is too large to provide adequate support.
Reinforce joists
Here, a previously heavily notched joist has been re-enforced by securing a similar sized joist alongside it.
This can be done by bolting the 2 joists together with 10mm bolts.

