It is vital that bathroom floors are properly prepared prior to tiling if the following is to be avoided.
- We rip out a lot of bathrooms (roughly the same amount as we fit strangely enough!)
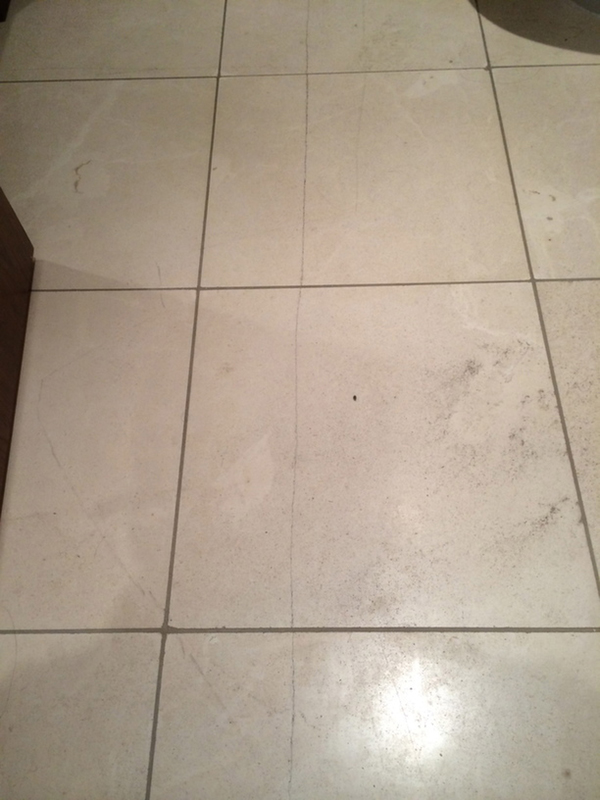
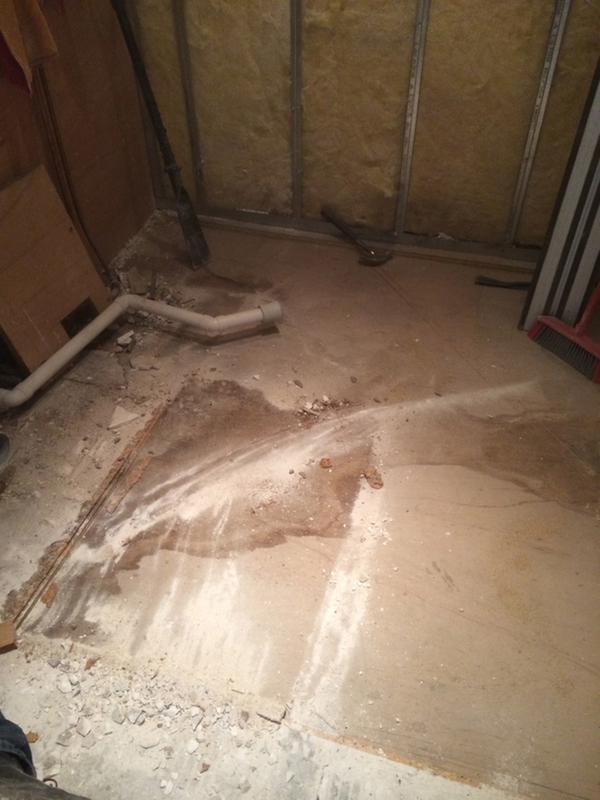
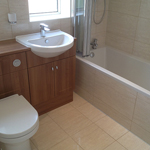
- Ripping this bathroom out was prompted by the shocking state of the existing floor.
- The marble tiles had cracked in a variety of places as you can see above.
Causes
- Sub floor movement or stresses causes 90% of tile cracking and this is mostly due to incorrect preparatory work prior to tiling.
- Please see here for more information.
- The other 10% may be incorrect adhesive or grout used, or possibly a leak.
Remedy
- Remove the tiles and examine the installation in detail.
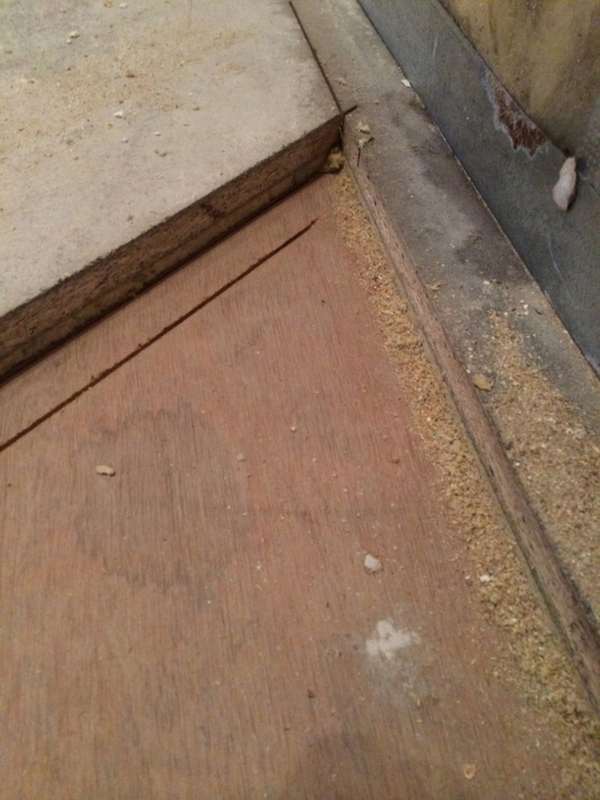
When we chipped off the tiles we discovered that the tiles were laid directly onto chipboard (wrong!)
Chipboard should always be overboarded with a tile backer board or a decoupling membrane.
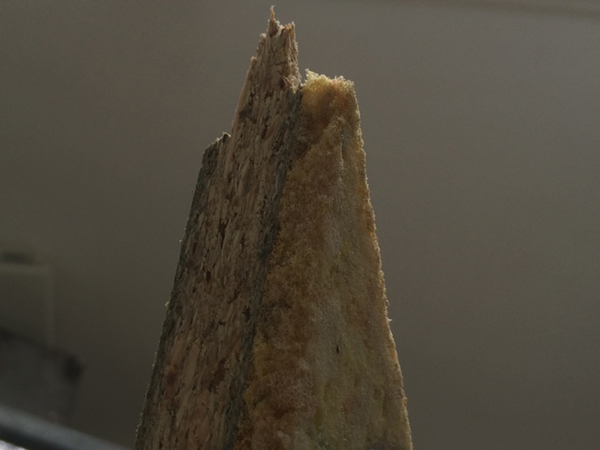
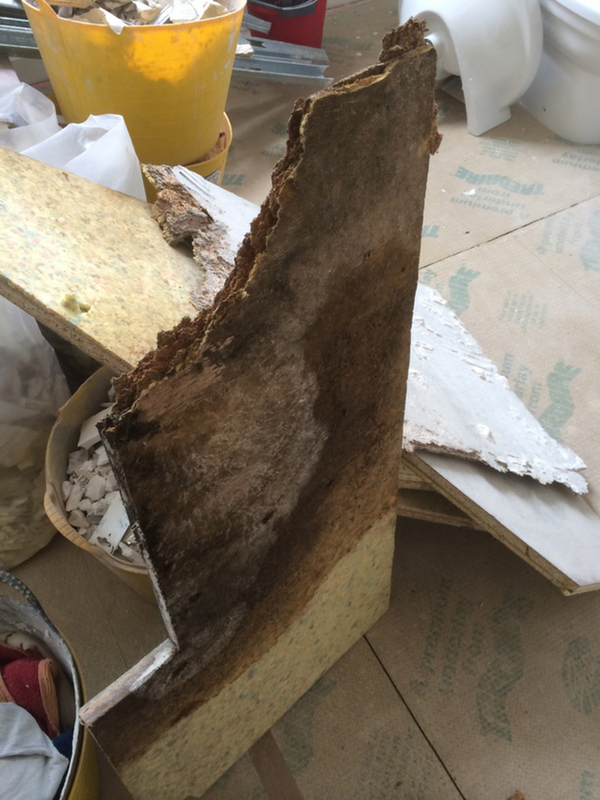
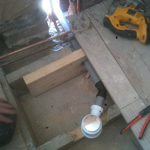
When we removed this chipboard we found that it was a cushioned chipboard that was merely floating on the plywood subfloor below i.e. it wasn’t even screwed down!
The cushioning on the back of the chipboard (used to provide acoustic insulation in flats primarily) was compressing whenever it was walked on (its made of the same material as carpet underlay.)
This was causing the whole floor to move, bend and twist, and this was causing the tiles to crack.
Deflection of the floor is particularly bad for natural stone floor tiles (rather than ceramic or porcelain floor tiles) as they have less ability to absorb movement – this is reflected in the deflection tolerances given for the 2 different material types outlined in this article.
Furthermore, these cracks let moisture in, and the result was a soaking wet, rotten, useless chipboard layer. (chipboard is very bad in wet environments – it turns to Weetabix in the presence of water.)
Luckily, the subfloor below this layer was solid floorboards overboarded with 25mm marine plywood screwed over the top so this was solid enough to start again from.
To re-do the floor, it was then overboarded and tiled by following the steps outlined here.
Do things right 1st time and employ a professional if you are unsure as to the correct process for tiling – floors have a lot less tolerance for errors than walls do.
Thanks for reading,
Chris
Useful links

