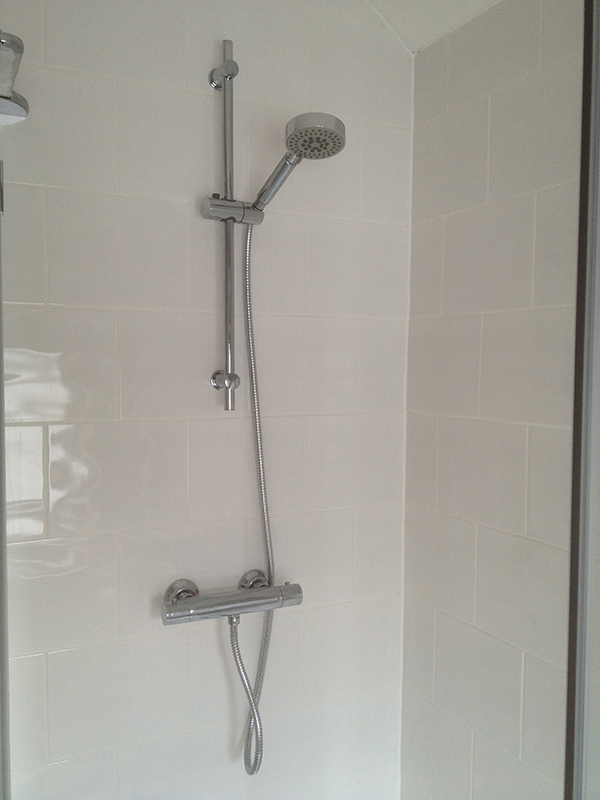
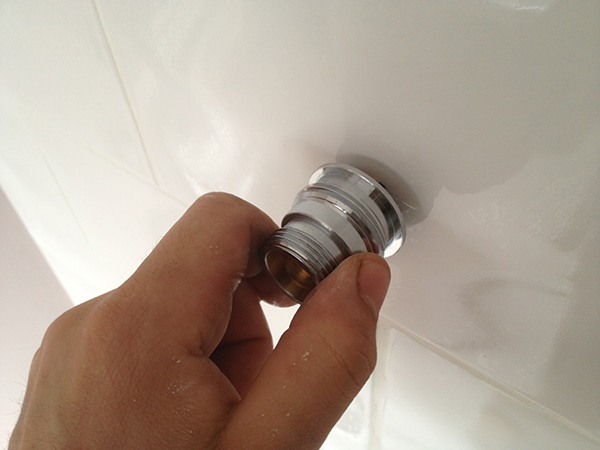
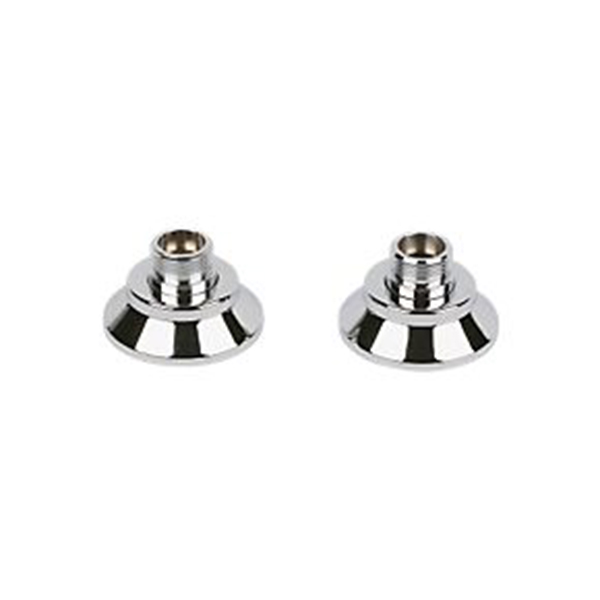
This article explains how to use a push fit shower valve fixing kit to attach any standard bar mixer shower onto pipework already set in the wall.
Introduction
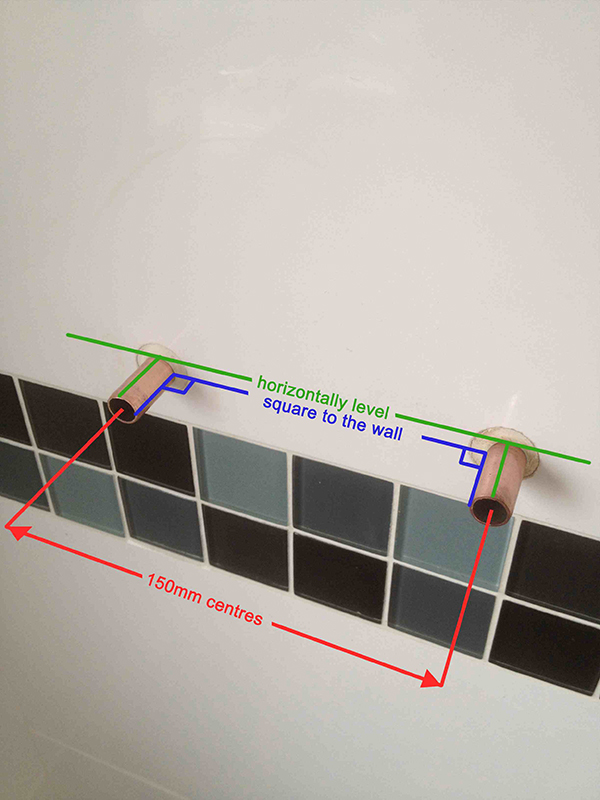
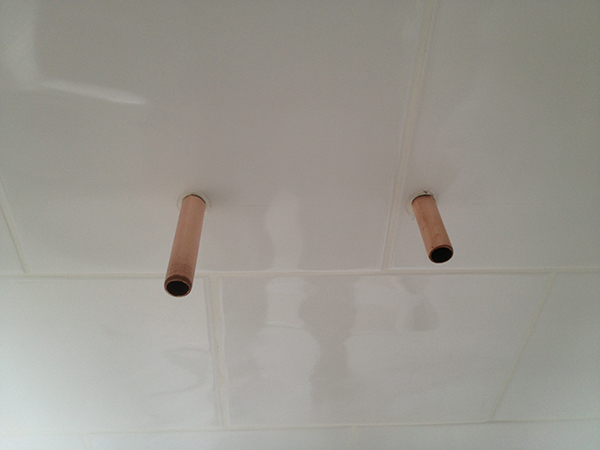
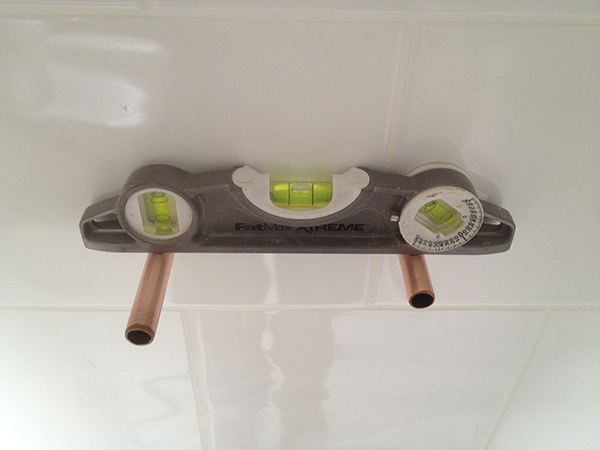
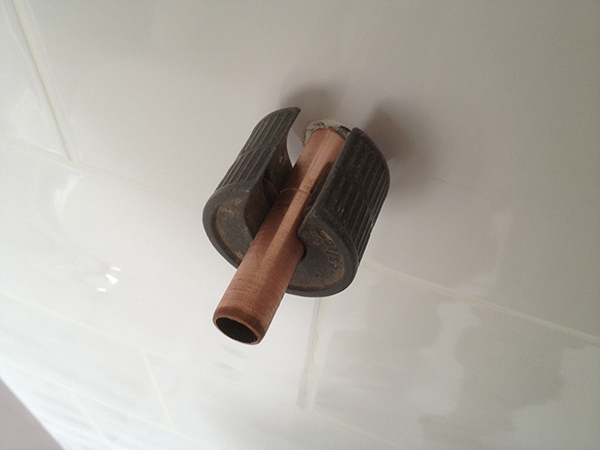
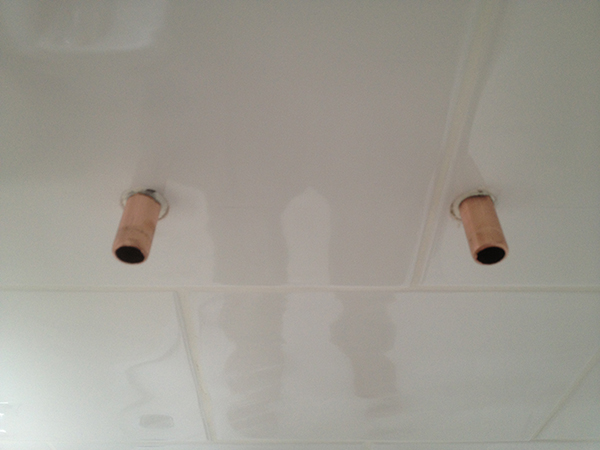
Before the installation of this bracket, you should have 2 x 15mm copper pipes protruding from the wall (60mm +) at the intended location of the thermostatic bar mixer valve (hot on the left, cold on the right) at 150mm centres. These pipes should also be level and square to the wall, which should now be fully tiled & grouted. For details of how to do this please see here or here.
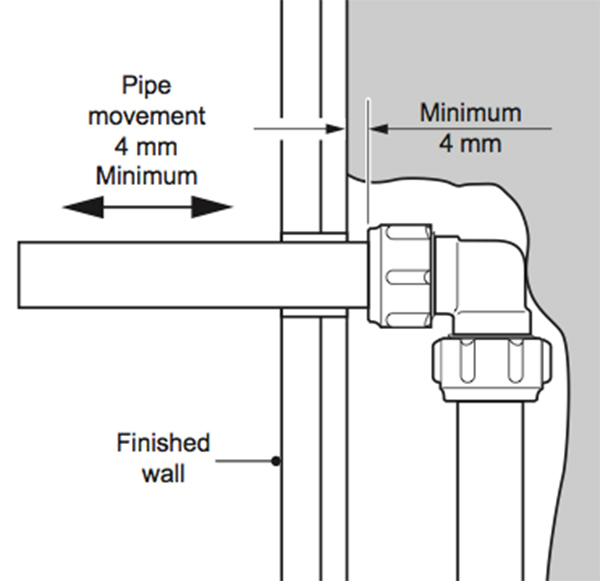
Please note that to install this particular fixing kit, the pipes must not be set solidly into position.They must be able to be moved in & out of the wall by 4mm + and be backed by a solid surface.
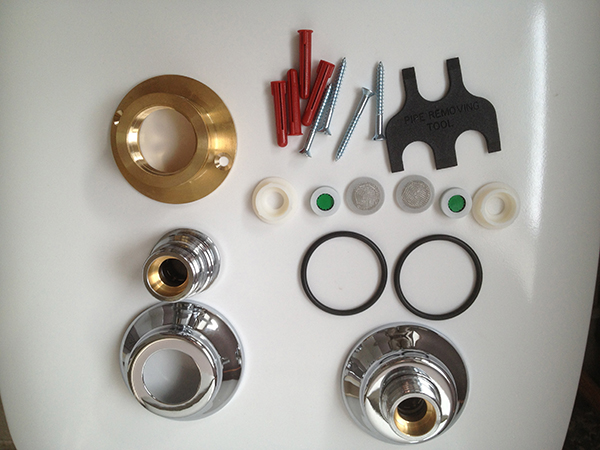
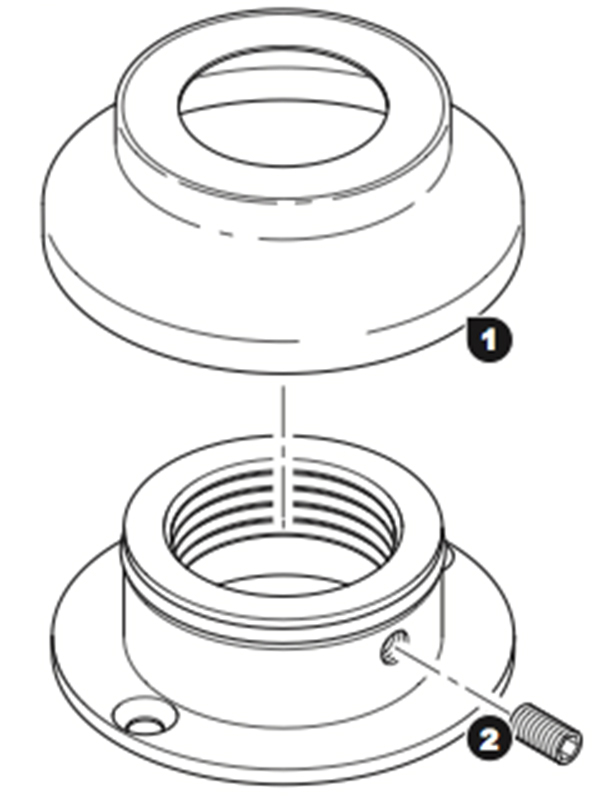
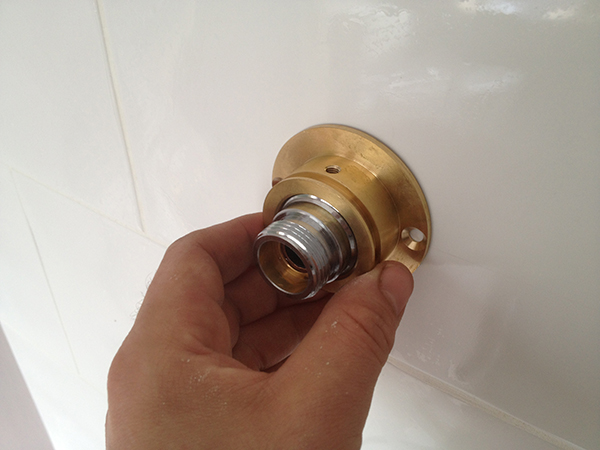
Triton Bar Mixer Bracket
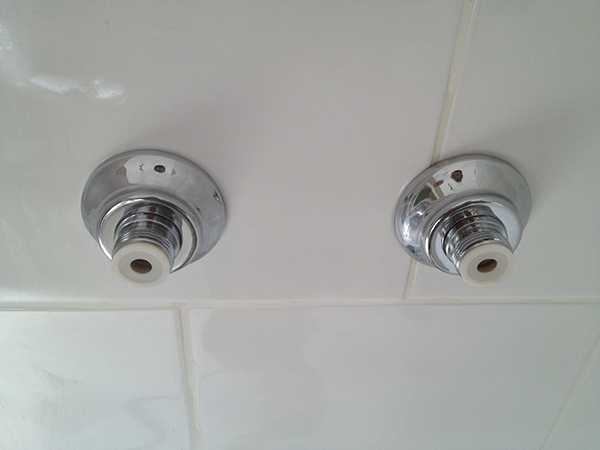
This article shows how to use a Triton bar mixer bracket (shown above) to attach any standard bar mixer to pipework that has been set at 150mm centres.
For:
- Water connections are made in front of the finished wall surface (unlike traditional ‘Z’ connectors)
- Bar valve is secured to the wall (not just supported on the pipes) which makes the installation more secure than some other methods.
- Suitable for any bar valve using 3/4” female threads
- Easy push fit fitting for spanner free fitting
Against:
- It is the most expensive of all the fixing kits at around £60
- No seal on back of unit to prevent water ingress – you will need to silicon
- No centre and levelling adjustment on the kit itself, just how you screw it to the wall
- Cannot be bought to fit all 1st fix shower pipework that may have already been done as….
- Pipes need to have a slight (4mm) in out movement from the wall in order to fix it
- Does not come with an allen key to tighten up the grub screws
When to use this fixing kit over others
If your 1st fix pipework is accurate & movemeable, and you do not want to have to make a compression joint as with this Mira bar mixer fixing kit & this other simple bar mixer fixing kit.
Primary considerations
- Pipes must be cut with a suitable pipe cutter & deburred – NOT A HACKSAW
(this will leave a ragged edge that could damage the ‘o’ ring and cause a leak. - Cannot be used with chrome-plated pipework (as with all push fit connections).
- 1st fix pipework should not be fixed within 1m of the bracket to allow necessary movement for fitting.
- Pipework must be backed by a solid surface to resist the applied force of pushing on the connector (otherwise when you try & push the push fit connector onto the pipe it will push it back into the wall)
- Pipework must be able to be moved in & out of the wall by 4mm to allow necessary movement for fitting.
Components
1. Cover trim x 2
2. Mounting plate & grub screw x 2
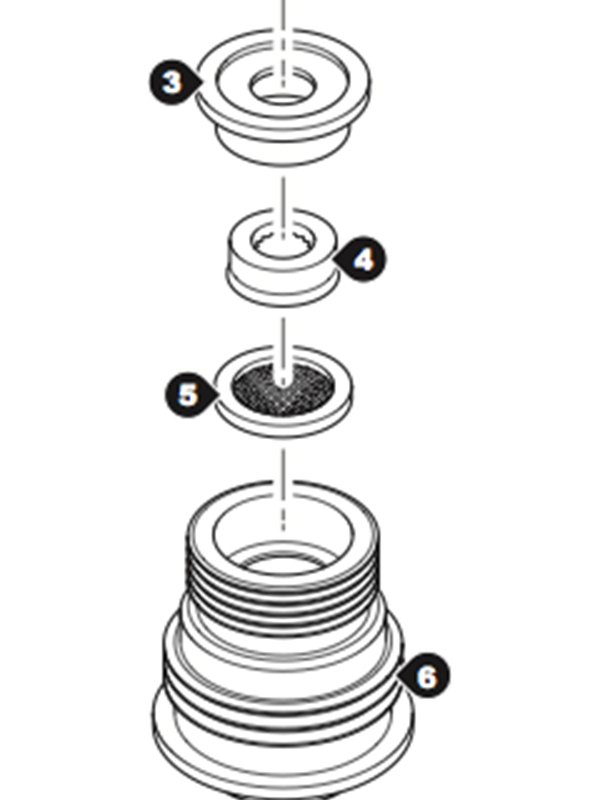
3. Plastic seal x 2
4. Flow regulator x 2
5. Filter x 2
6. Push fit connector x 2
Installation
Flush the pipework through to remove any debris.
Then, ensure that the water is turned off and the pipes are drained.
Remove the temporary stop ends and clean both pipes using wire wool or plumbers mesh strips.
Ideally your tiler will not have grouted around the pipes as above (to allow the necessary movement required for fitting) If not, a waggle on the pipes should loosen the grout.
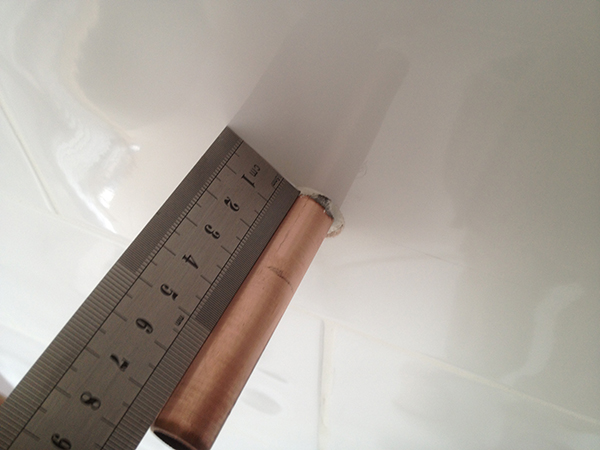
The next task is to ensure that the pipes protrude out from the wall the correct amount according to the manufacturers instructions – In this case a distance of 29mm is marked – a steel ruler is used here as it is easier than a tape measure, and the pipe is cut as shown. Do not use a hacksaw for this.
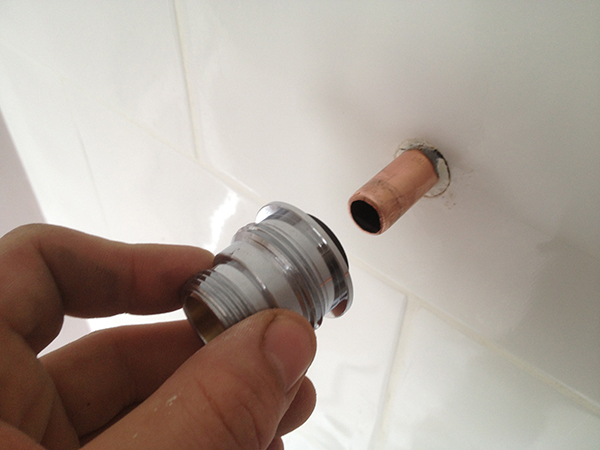
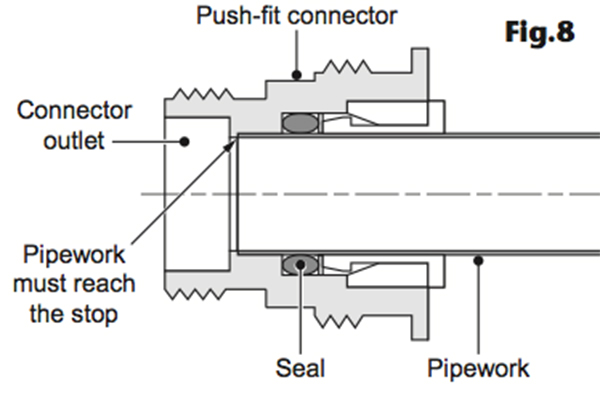
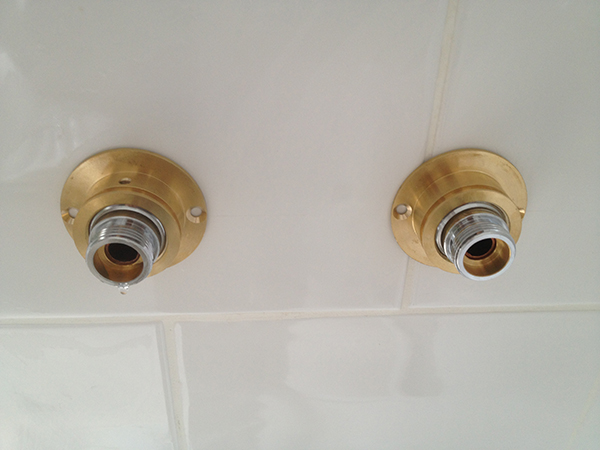
Press a push-fit connector onto each pipe until the pipe reaches the stop within the connector – the rubber ‘o’ rings can be sprayed with silicon spray if you have it to lubricate this movement.
The pipe must be fully inserted into the fitting as 99% of pushfit leaks (in my experience) come from not fully inserting the pipe. You should also feel the fitting stop as the internal shoulder hits the end of the pipe.
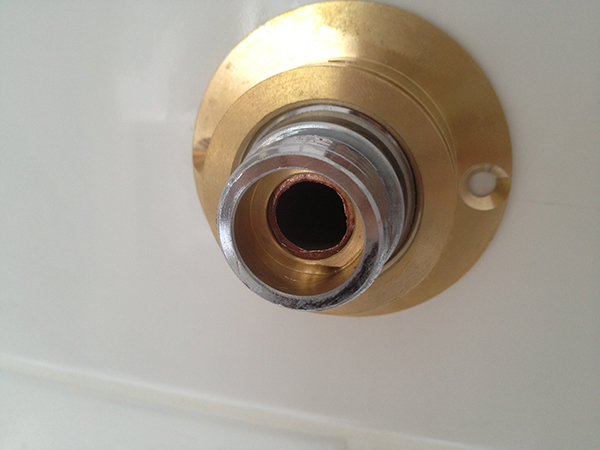
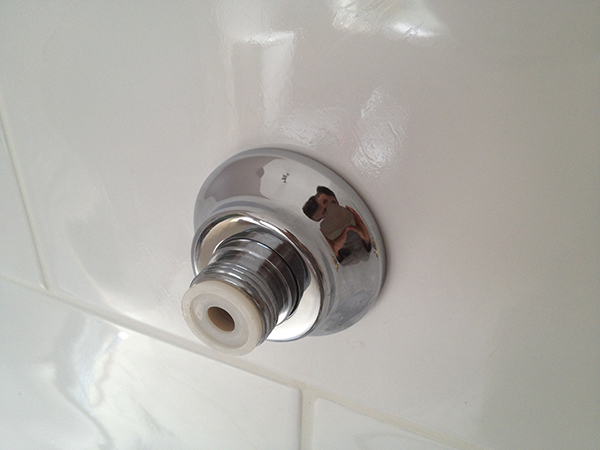
This can be visually confirmed by viewing the pipework through the push-fit connector outlet as shown above.
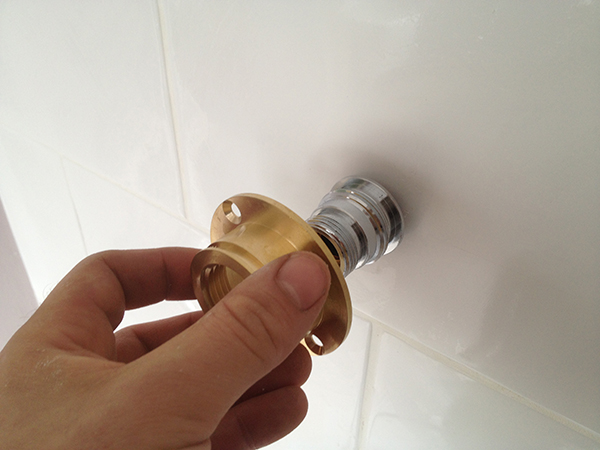
Screw the mounting plate onto the push-fit connector by hand until it reaches the stop and begins to turn the connector itself.
The next step is to attach the mounting plate to the wall by screwing it into position:
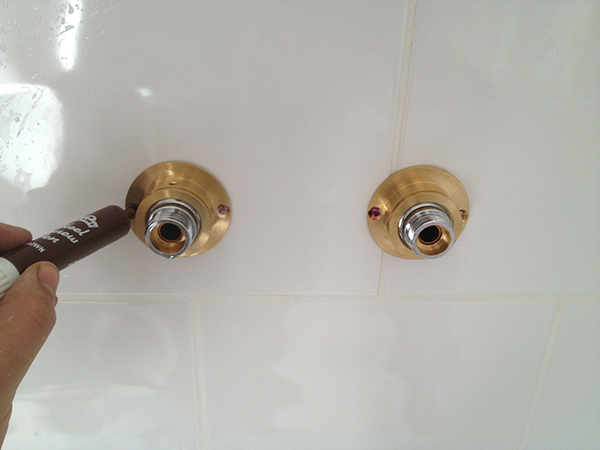
Spin the plate so that the screw holes align with the intended position i.e. to avoid the pipework in the wall and/or to locate into any noggins you may have inserted at 1st fix.
Mark the holes, checking that the bracket is still level and at 150mm centres as this is your only opportunity for adjustment.
Remove the mounting plates.
The holes are then drilled using a 6mm tile drill bit. This type of drill bit is excellent for drilling ceramic tiles as its sharp arrow head design ensures it does not skid off the tile surface even without applying masking tape to the surface 1st.
PS If you have porcelain tiles (or another type of hard tile) you may need a more specialist drill bit.
Red uno rawl plugs are then inserted into the holes.
I never use the wall plugs that come with these types of kit – they are always inferior and the screws always end up turning the wall plugs or the screw head strips – this also applies to fixing curtain poles and just about anything else to be honest.
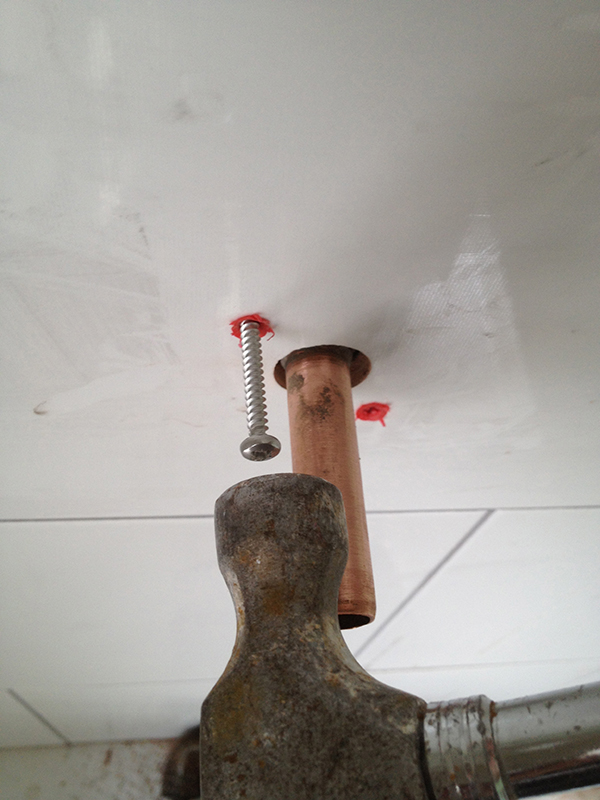
Tips of the tradeBe careful when hammering the wall plugs in and use a suitable sized hammer – you don’t want to swing and miss and smash a tile.If the holes are near the edge of the tile or the tiles are very thin, you might be better hammering the wall plugs into the brick wall behind (if not a stud wall). This ensures that when the screw is tightened into the wall plug the expansion pressure doesn’t crack the tile as it is exerted into the brick surrounding the drilled hole rather than the tile itself.
This is done by inserting the plug so that it is as shown above and then inserting a screw 5mm into the fixings before gently hammering it through to the wall behind, ensuring that it is not too deep in the wall for the screws you will be inserting.
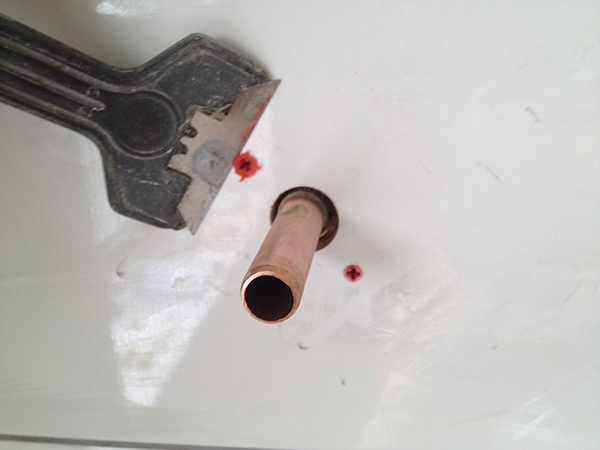
Assuming you haven’t hammered the plugs through to the brick wall behind, the ends are trimmed off using a stanley knife holder to ensure that the wall plates can sit flush against the tiled wall.
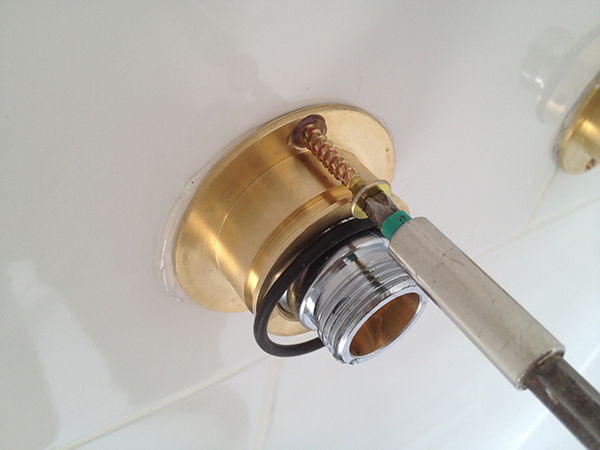
Replace the mounting plates & screw them to the wall with the screws provided – you may wish to add silicon to the back of the mounting plate to ensure a watertight seal and to stop any water from getting into the wall where the pipes protrude.
Ensure you select the correct screwdriver head to do this to reduce the likelihood of stripping the screw head.
Do not use a drill to do this! You will fire the screws in with far too much power and crack the tile.
PS. You will see above that in order to tighten up the screws I had, I first had to loosen the ‘o’ ring on the mounting plate so the screw head could pass.
Excess silicon can be removed by wonderwipes & a fugenboy – this way the fitting of the cover trim will not be impeded.
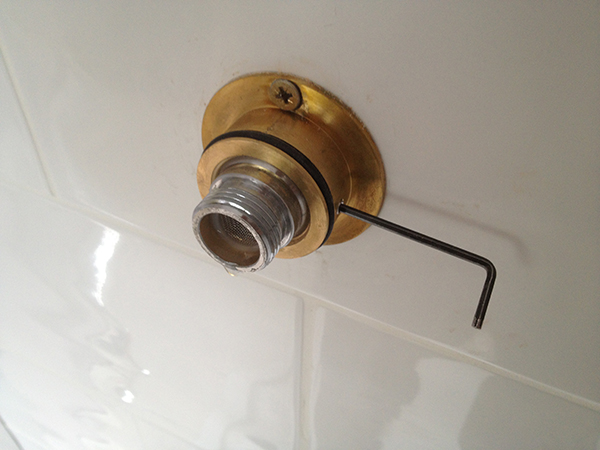
Insert the grub screw into the mounting plate and tighten to secure the connector – If you do not do this then the push fit connector will spin within the mounting plate when you try and attach the shower valve.
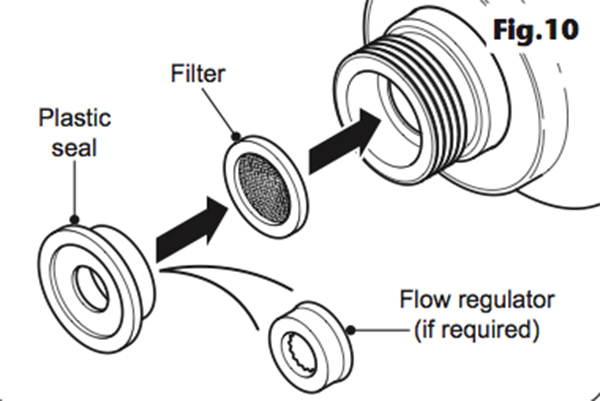
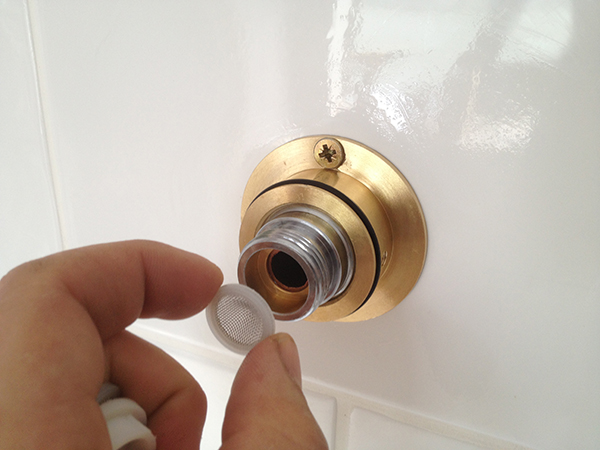
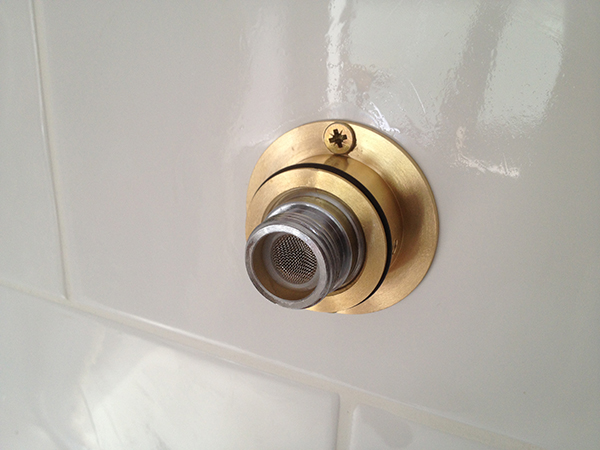
Fit the filters into the push fit connector as above.
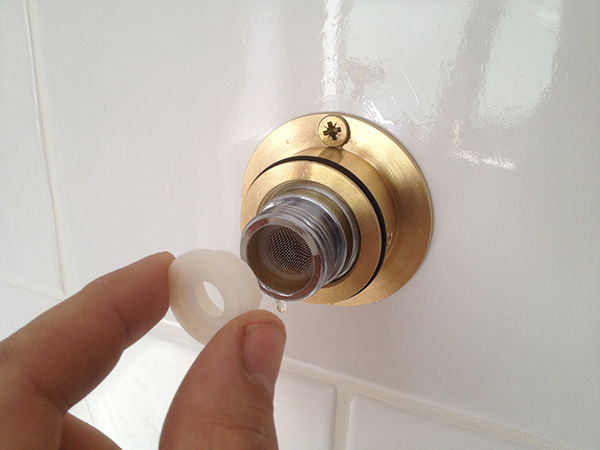
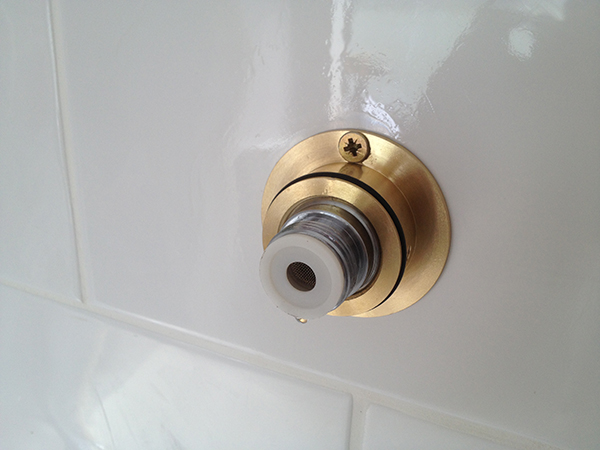
Insert the flow regulators into the seals (if required) and then push the flow seals into the push fit connector as above.
Slide the cover trim over the mounting plates – the rubber ‘o’ rings on the outside of the mounting plates should hold them in position. Again, silicon spray can ease this action.
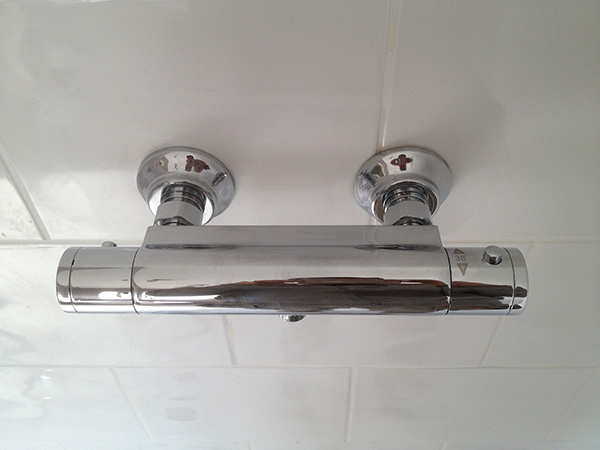
Make sure that the sealing washer/filter is fitted in the correct orientation, offer the bar valve up to the push fit connectors and tighten the nuts.
Take care not to damage the chrome plated surfaces.
Turn the water on and test for leaks.
Refer to your Bar Valve installation and User Guide for further details on installation, commissioning and operation.
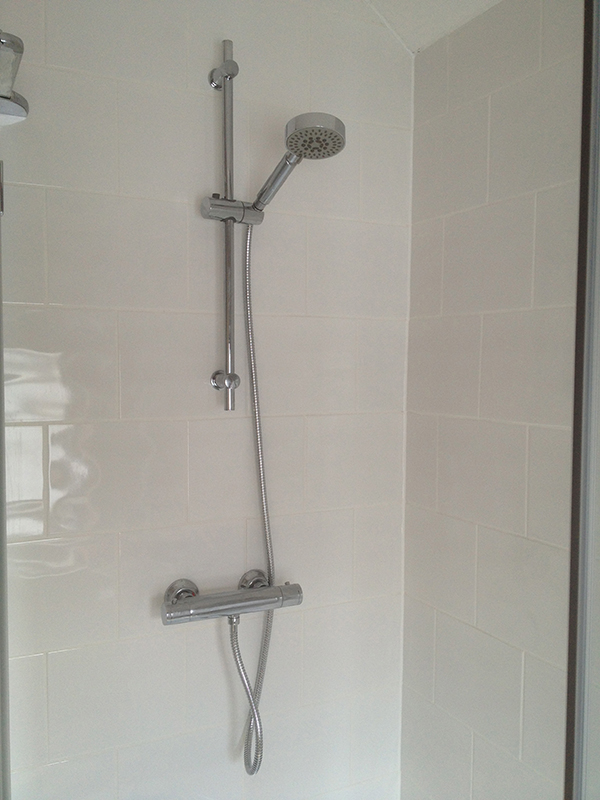
Attach the riser rail to the wall with the same drill bit & wall plugs and you have now finished.
Tips of the tradePS Be sure to attach the shower hose & head to the valve when setting the height of the riser rail to ensure everything fits together properly.
Verdict
A relatively expensive (but spanner free) fixing kit that cannot be fixed to rigid pipework already set in the wall. All adjustments in centres and level must be made when screwing the bracket to the wall which can be tricky.
Available to buy here
I would instead recommend this kit if you are comfortable making compression fittings.

