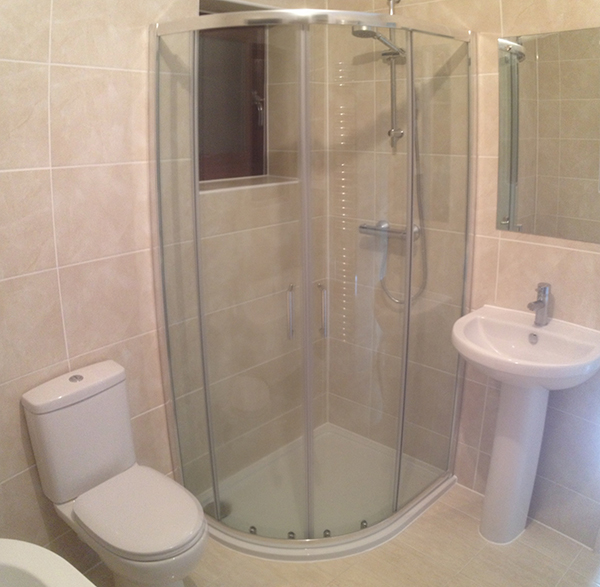
Bathroom installation in Lawnswood, Leeds.
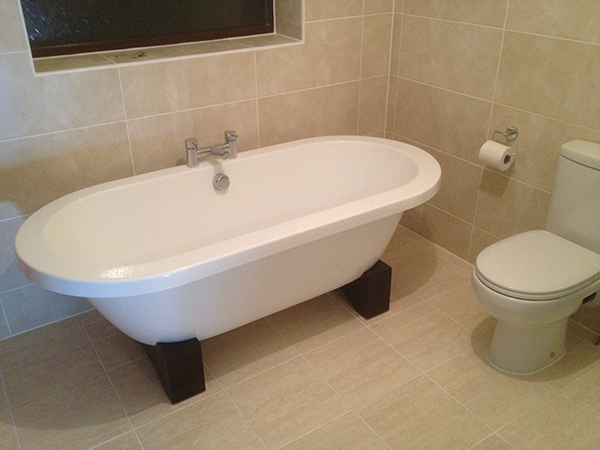
This complete bathroom was installed in under 2 weeks by ukbathroomguru.com.
Having received our estimate for a bathroom renovation, this customer asked for ways to reduce the overall budget.
I did this by using our local bathroom & tile suppliers to get him a great deal on his suite & tiles, and then also suggested he might want to try a bit of DIY.
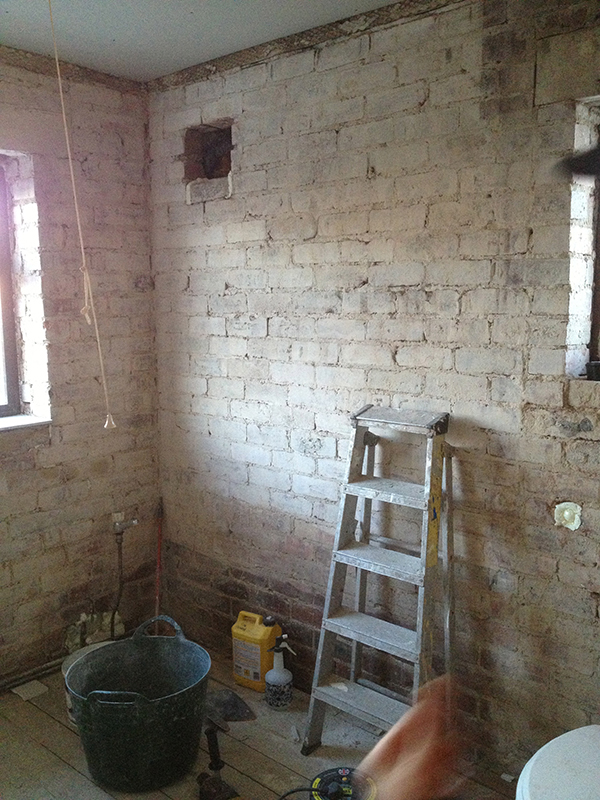
Therefore, in this instance the customer spent a few weekends stripping all of the existing wall tiles and removing the existing bathroom suite. He also removed the dividing wall between the WC & the bathroom.
There are always steps to follow when removing an internal wall.
The walls behind the existing tiles were found to be ‘blown’ and so all this render had to be taken off ‘back to brick’ in order to start again. Please see here for more information.
Day 1: Removal & disposal of remnants of existing bathroom
Parts of the old suite not removed by the customer e.g. the toilet & basin were removed and disposed of, and the following work was done over the next week and a half:
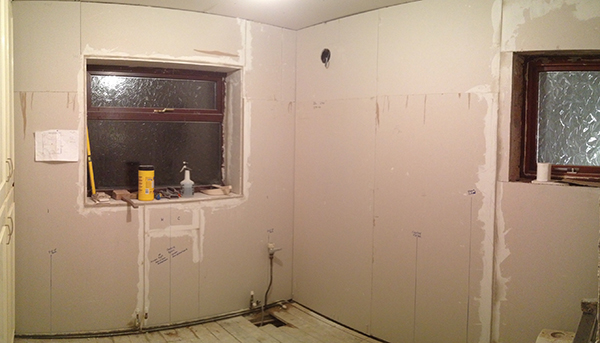
Reboarding
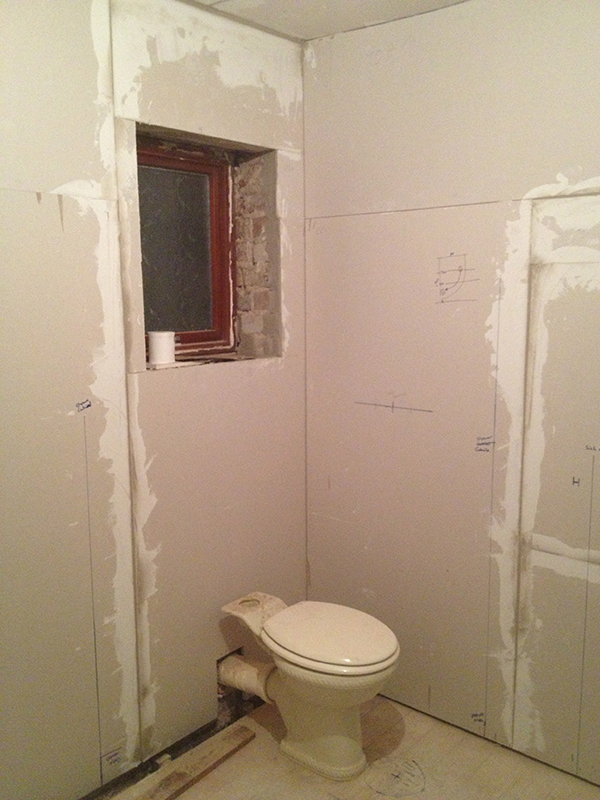
All of the walls were taken back to brick and subsequently reboarded in order to give a flat surface onto which to tile. This was done using the dot n dab technique, ensuring that all walls were flat, level and square in the corners.
As the walls were being fully tiled (from floor to ceiling) there was no need to plaster (skim) the boards prior to tiling. This is an alternative approach to plastering the walls and then tiling over them, and it has a couple of benefits:
It is recommended that fresh plaster be left to dry out for a minimum of 4 weeks prior to tiling. This approach would mean a gap of 4 weeks between 1st & 2nd fix plumbing and would leave you without vital facilities in the meantime i.e. massive disruption.
Bare plasterboard can carry tiles of up to 32Kg/m2 rather than 20kg/m2 for tiles onto plaster, meaning that you can fit a greater range of tiles, including larger, thicker, heavier tiles.
Standard plasterboard can be made waterproof by tanking, and this helps to guarantee the longevity of the tile installation.
Plumbing
The existing suite was replaced with good quality modern fittings from our local bathroom supplier:
- Freestanding bath
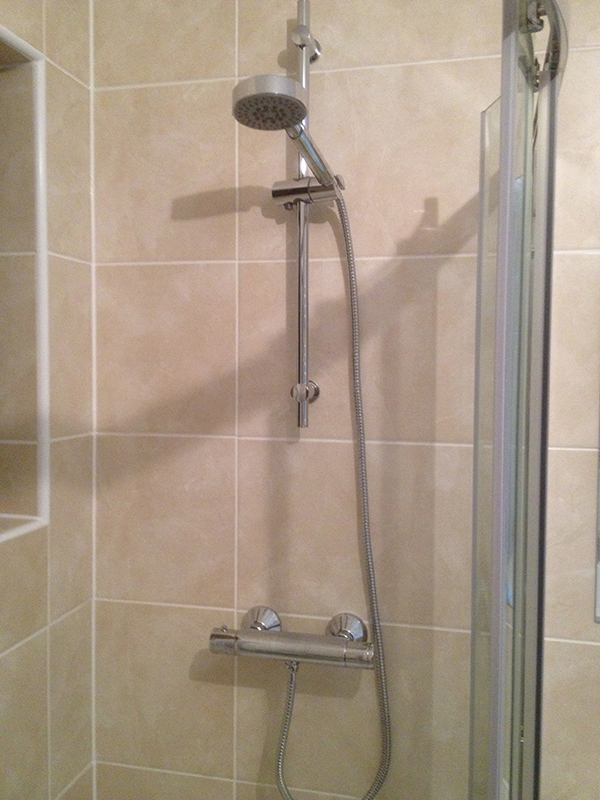
- Thermostatic bar mixer shower with 10 year warranty within an offset quadrant shower enclosure
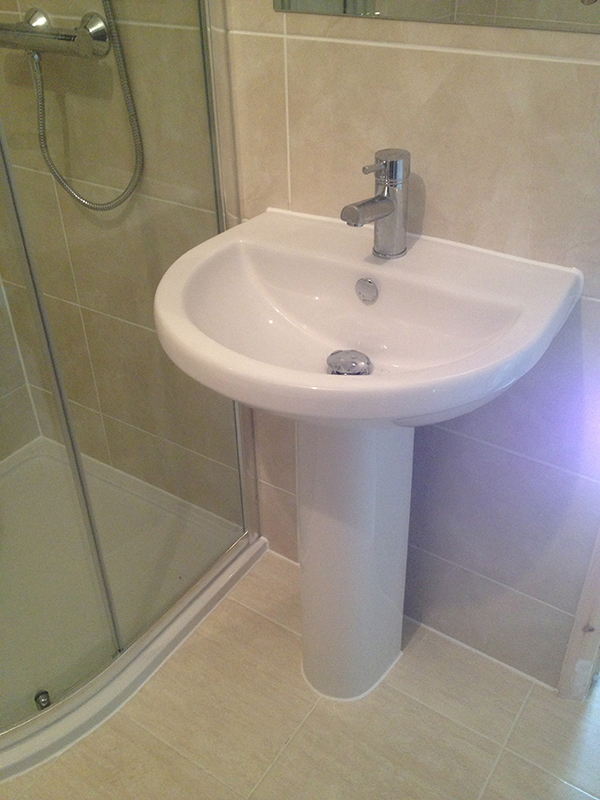
- Basin with a mixer tap
- Attractive yet affordable close coupled toilet
- Chrome towel warmer
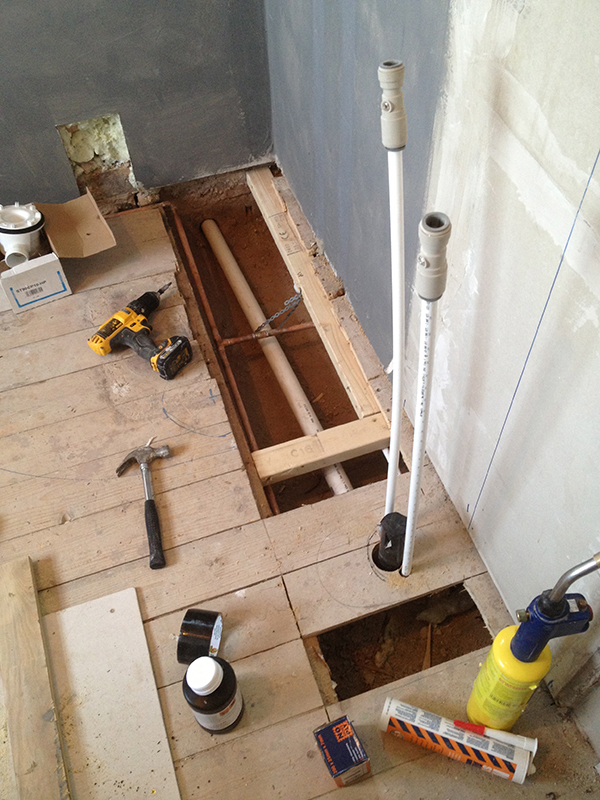
This involved running new pipework to and from the new positions of the new suite items, under the floor wherever possible to negate the need for boxing in (the basin supply pipes and waste pipe is shown above – note how they are hidden by the pedestal once complete).
UPVC window fitting
A new energy efficient UPVC window was supplied and fitted to match the colour of the existing house windows. Obscured safety glass was added to maintain privacy and safety, and egress hinges were fitted to provide means of escape in the event of a fire.
Please see herefor more information.
After overboarding and skimming the ceiling, paint suitable for a humid bathroom environment was applied.
The wooden cupboards that hide the hot water cylinder were also prepared and painted with white eggshell paint.
Tiling
Ceramic tiles were chosen by the customer from our local tile supplier and these were applied to both the walls and the floor.
Wall tiles were applied directly to the plasterboard (after the tanking kit had been applied to the shower area)
The floor was prepared and then tiled with ceramic tiles that complemented the wall tiles.
All wall / floor junctions were sealed with sanitary silicon to prevent any small cracks from opening up with movements in the walls / floor relative to each other.
A new extractor fan was fitted to deal with bathroom humidity and the ceiling lighting was rearranged, following the change of layout that resulted when knocking 2 separate rooms into 1.
Summary
This bathroom installation started on a Monday and finished the following Thursday.
The work schedule was very tightly organised by a project manager (me) ensuring the work was done in the correct order to give the best finish in the shortest time.
It involved many tradesmen that the homeowner may have found difficult to source individually, and then organise into a tight schedule: In this instance, I organised a team consisting of a joiner, tiler, plumber, and a labourer & painter that did the bathroom while the customer was away on holiday – All project managed by me to make the process as smooth as possible.
Thanks for reading, give me a call if you would like a nice new bathroom in under 2 weeks.
Chris

